How To: Enable Multifactor Authentication Login
MFA adds an extra layer of security to your account. To have this feature activated, please contact Teletask support, and once approved it will be enabled on your account. There are two options, optional or required. Once enabled, all users will receive a notification that they now have the ability or must enable multi factor authentication on their individual accounts.
To enable MFA for your individual login, please follow the steps below.
1. Log in to the Teletask portal (http://hms.teletask.com) with your username and password.2. In the upper-right corner of your window, click on the Profile menuto access your login profile's settings.
3. Next to "Two-Factor Authentication," click the "Enable" link like the one shown below:
4. This will navigate you to a new window with a unique QR code:
5. In your mobile phone's authentication app of choice such as Microsoft Authenticator or Google Authenticator for Android or iOS, find the QR reader and either scan the code using your camera or manually enter the key string beneath the code into the app. This will generate a unique 6-digit code. Please note: This code will only last for 30 seconds before it automatically refreshes.6. Enter the 6-digit code into the top field beneath the QR code, followed by the password you used to log in to the Teletask portal:
7. Click 'Confirm and Enable Two Factor.' This completes the enabling and validation of two-factor authentication on your account.
8. Once validation is complete, you will be navigated to a screen with a list of optional back-up codes. If used, please save these codes in a safe space in the event you lose access to your authentication app.
To log in to Teletask using two-factor authentication:
1. Go to http://hms.teletask.com on your preferred Internet browser.2. Log in using your e-mail address and password.3. You will be prompted to enter a 6-digit code from your authentication app: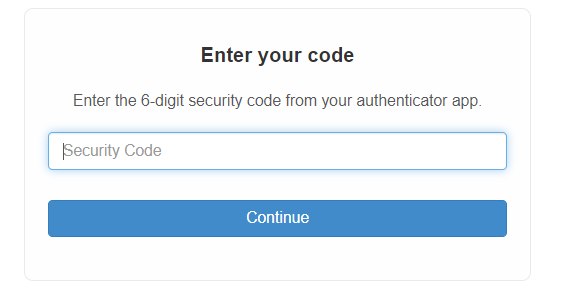
Enter your 6-digit code and click 'Continue.' You will now be logged in!
Related Articles
How to: Enable Family Appointments for the Scheduler
Enabling Family Appointments allows you to group family appointments or spread them across resources. It also allows you to utilize family actions such as checking in families all at once or rescheduling them if needed. To enable the Family ...How to: Enable Notifications and Preferences for Chat
Chat notifications will alert you when you have unread chat messages waiting for a response. They can be set up as a sound, email, or text notification. These steps will walk you through setting up your notifications. Configure Preferences for ...How to: View or Edit Existing Appointments through the Scheduler
You can view and edit all currently scheduled appointments for a client or for a family through the Scheduler. Please follow the steps below to view existing appointments. Note: The Scheduler must be enabled on an account prior to use. ...How to: Create a Chat Report
The Chat report type is a report of incoming or outgoing chat messages for a specified time period. The report can be generated for a particular user's or participant's chat messages. Note: The Chats must be enabled on an account prior to use. Please ...How to: Create a Scheduler Report
The Scheduler report type is a report of appointments, or a summary of appointments, on the Scheduler for a specified time period. The report can be generated for a particular location, or filtered for more specific results. Note: The Scheduler must ...