How To: Create an Import Scheduled Message and Upload Files as a User
Import Scheduled Messages are used when you want to send the same message to a changing group of participants. As a User (non Admin), you can upload the files through our web portal utilizing the Upload button.
Notes: The Upload option must be enabled on an account prior to use. Please reach out to Teletask staff to enable this feature.
The report being uploaded must include a column for the clinic or location that is assigned to the user.
Only the participants associated with the user's clinic or location will be uploaded.
- Log-in to: https://hms.teletask.com/, your email address is your username.
- Click on Messages
in the top menu bar.
- Press the Create Message
button in the top right-hand corner.
- Click the Select button for Import Scheduled Message.
- Enter a Name for the new message.
- Select the languages you would like to use. Add additional languages as applicable.
Note: Languages are used when the client's profile has a language preference for a particular language.- If applicable, next to Send Schedule, check the box for Schedule Messages relative to Appointment Time.
- Check the boxes for the Message Type you want to send; our options are Text, Voice, and Email.
Note: If you do not see a Message Type, it is not be enabled for your account.- Select the send Timing for the message. You can choose to Send Immediately or Send at a specific time.
Note: If using the Send at option and the file is uploaded after the the time specified, the messages will schedule to go out the following day.
If the Schedule Messages Relative to Appointment Time option is checked, pick how many Days Before Date or how many Hours Before Date that the message should be sent.- Press the Next button to save your changes in the Properties section and proceed to the Contents section.
- Add your desired content for that message.
How to: Create a Text Message
How to: Create a Voice Message
How To: Create an Email Message
Note for Single Language: You will be taken directly to the contents page of the message types you selected starting with either Text, Voice, and then Email. Press Next: Voiceto edit the voice content and/or Next
for the Email content (if those types were selected)
Note for Multiple Languages:
Click the Start button for the Text, Voice, or Email message you want to create.
Once you have updated the English sections, you can press the Translate Nowbutton to have Google Translate translate the English messages into the other languages you have selected
- Once you have finished adding your content, select Next to save the changes. This will take you to the Recipients page.
- On the Recipients page, under Upload Contacts, select the template under the Upload File drop-down that matches the file being uploaded.
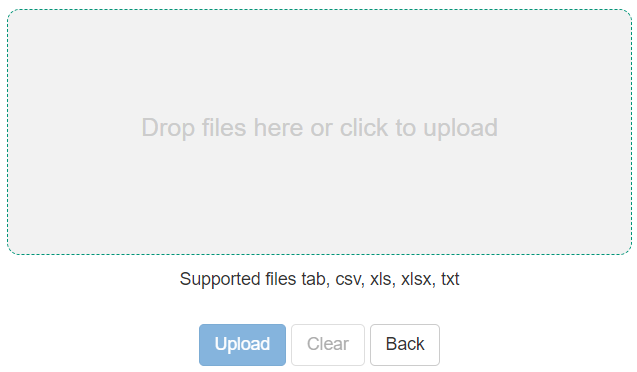
Note: If you do not see the Upload File with Format option, please contact Teletask Support or your account Administrator.Note: Administrators are able to view the Upload Configurations option which will list any import configurations associated with the message.- In the Upload option below, drag a file into the upload box - or - click in the field to open the file selection screen.

Locate the file you want to upload and choose Open.
- The Confirm Action page will display showing the files that have been uploaded and which message they are associated with.
Note: Only participants who belong to clinics/offices that the User has access to, will be imported.- Optional: Select Preview to view a small sample of the information that the file is going to be imported.
Example: In this report we included just the phone numbers, first name, and last name. Since language is not a field in the report, it will default to English.- Select Confirm to continue and proceed with processing the files.
From the Preview page:
- or -
From the Confirm Action page:- The file will now upload and a confirmation notification will appear on the screen.
- In 1-15 minutes, the message will display on the Dashboard.
Related Articles
How to: Create an Import Scheduled Message
Import Scheduled Messages are used when you want to send the same message to a changing group of clients/contacts using our Transfer Client or SFTP (Secure File Transfer Protocol). The most common example of this are appointment reminders. Supported ...How to: Create a Rules Scheduled Message
Rules Scheduled Messages are used when you want to send a message based on a specific set of rules, to existing clients/contacts. The rules allow you to narrow down an existing Contact Groups by other attributes such as language, appointment date, ...How to: Create a Contact Group using Microsoft Excel Files
You can create a new group by importing clients/contacts through a Microsoft Excel file. Please follow the steps below to import clients using Microsoft Excel files. Note: Our Supported Formats are: .xls, .xlsx and .csv only. Additionally, any hidden ...How to: Upload Files through the Upload Button
Teletask now offers the ability to upload your files through our website portal. Using the website portal means that you can upload files from any computer without having to have specific software installed, or access to a server. Once the Teletask ...How To: Add and Send Media Files
The Media option allows you to add media files to your account and send them to participants as a URL in a chat, text, or email message. When sending images or files through Text or Email, they can only be sent by using a URL that the participant ...