How to: Upload Files through the Upload Button
Teletask now offers the ability to upload your files through our website portal. Using the website portal means that you can upload files from any computer without having to have specific software installed, or access to a server. Once the Teletask Support Team has set up your account, you will see the Upload button on the top gray bar.
Note: The Upload button must be enabled on an account prior to use. Please reach out to Teletask staff to enable this feature.
Upload through Website Portal
- Log-in to the web portal at: hms.teletask.com
- Select the Upload option on the top gray bar.
- The Upload option will open.
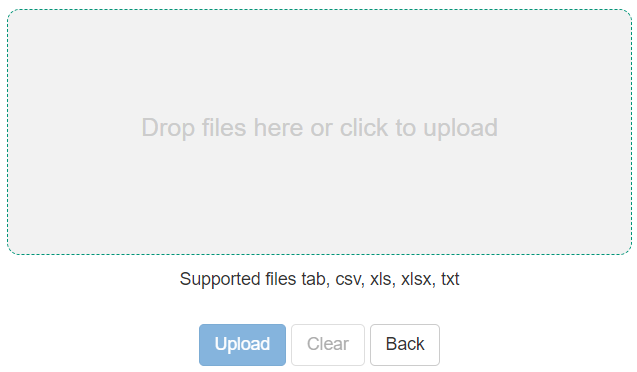
- Drag a file into the upload box - or - Click in the field to open the file selection screen. Locate the file you want to upload and choose Open.
- The Confirm Action page will display showing the files that have been uploaded and which message they are associated with.
Note: Files that are not associated with a message will appear under the Files not recognized list. Select View Filenames to see what file names our system is expecting to see.
- Optional: Select Preview to view a small sample of the information that the file is going to be imported.
Example: In this report we included just the phone numbers, first name, and last name. Since language is not a field in the report, it will default to English.- Select Confirm to continue and proceed with processing the files.
From the Preview page:
- or -
From the Confirm Action page:- The file will now upload and a confirmation notification will appear on the screen.
- In 1-15 minutes, the message will display on the Dashboard.
Related Articles
How to: Upload Files for our Support Team
Files can securely be sent to the Teletask Support Team through the Support Upload option. When uploaded this way, the files will not trigger any messages and will be available for the Support Team to review. Note: The Upload button and Support ...How To: Create an Import Scheduled Message and Upload Files as a User
Import Scheduled Messages are used when you want to send the same message to a changing group of participants. As a User (non Admin), you can upload the files through our web portal utilizing the Upload button. Notes: The Upload option must be ...How to: Add Training Files and Videos
Teletask can host training files, videos, or links for ease of access. Conveniently located in the Help menu, this resource keeps all training documents within the Teletask portal. Admins can add new videos or articles that will be visible to their ...How To: Add and Send Media Files
The Media option allows you to add media files to your account and send them to participants as a URL in a chat, text, or email message. When sending images or files through Text or Email, they can only be sent by using a URL that the participant ...How To: Send Link to Upload Documents in Chat
Customizable links can be sent to participants to request for information. These unique links are sent through chat and are used to request a list of things such as proof of identification, pregnancy status, or proof of wages. This feature allows for ...